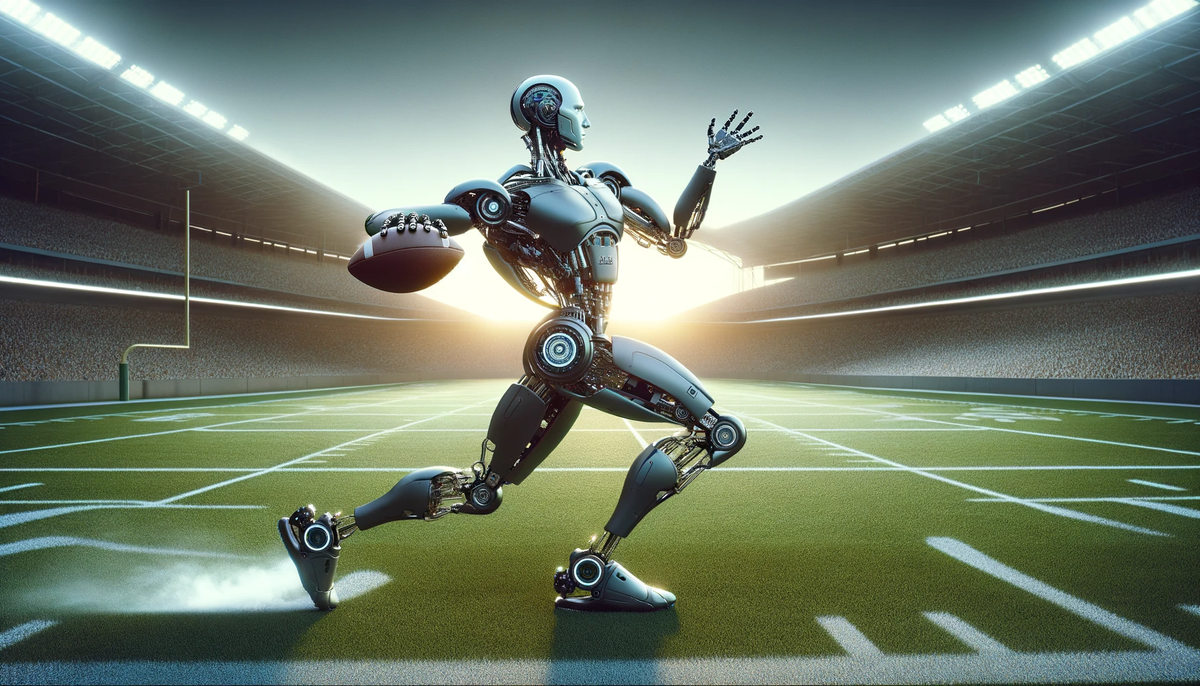
The Biomechanics of Throwing a Football: The Science Made Simple

1) Hip-Shoulder Separation: The Key to Power
Hip-shoulder separation angle and timing are crucial factors that influence throwing in sports. Hip-shoulder separation angle refers to the angle between the pelvis and the shoulders during the throwing motion. This angle serves as the transition of power from the pelvis (lower half) through a stretch-shortened sling to the shoulders (upper half). When the hips rotate before the shoulders, the angle increases, which leads to greater torque in the trunk. This torque is then transferred to the arm, allowing for a more powerful throw. Additionally, the more efficiently a quarterback produces this movement and generates torque, the more capable they become with 'off-platform' throws where their feet may not be perfectly set. Theoretically, the greater the hip-shoulder separation angle, the more power a player can generate in their throw. However, recent literature shows that at some point, there may be diminishing returns with the total angle, and, in fact, the sequence of the angle is just as important as the total degrees. It's not just about the size of the angle - the order in which the hips and shoulders rotate matters too.
2) The Timing of the Dance: Hip and Shoulder Coordination
A well-coordinated throw needs the right timing between the hips and shoulders. If they rotate too early or late, the throw loses power and accuracy. High-level throwing requires perfecting the hip-shoulder separation angle and the timing of the rotations. When a player throws, they need to coordinate their body parts to create a smooth and effective motion. The timing of the hip and shoulder rotation is crucial to this coordination. If the torso rotates simultaneously to the hips, the athlete often compensates by early elevation of the arm and a pushing motion (weak throws).
If you're interested in QB specific throwing, lifting and sprint training, customized to you, with the same systems used to train NFL Quarterbacks, take the assessment and get the app at kinetex.co. If you're interested in reading about all things quarterbacking and throwing biomechanics, subscribe to the blog.
3) Stable Base: The Importance of Lead Leg Bracing
When throwing, the lead leg provides a stable base for the pelvis and spine to rotate around. This helps transfer energy from the lower body to the upper body, making the throw more powerful. A continually rotating pelvis prevents hip collision and creates a leak of power away from the target. Additional rotation influences accuracy difficulty, as the athlete tries to time the release while continuing to spin 'away' from the desired target.
4) Setting the Up the Arm for Launch: Arm Spiral and Scapular Load
Before the shoulder and elbow can work efficiently, the scapula (shoulder blade) needs to be in the correct position (ER & Post. Tilt). By creating proper scapular positioning a throwing athlete can enhance the space for their humerus to freely load and rotate into maximal external rotation, as well as set up proper upward rotation and protraction later in throwing phases. Leaving an arm in an adducted position and throwing darts out in front, reduces the arm's capacity for shoulder rotation and arm speed. Additionally, the athlete will produce a high amount of elbow extension to produce a throw that does not produce a scap load/arm spiral and pec stretch. This elbow extension adds another variable to accuracy and timing when creating sudden and late launch. Arm spiral/elbow spiral serves as the natural and free rotation of the GHJ to move from slight IR to Maximal ER, to Maximal IR and extension while slowly climbing into abduction and flexion. This allows the arm to rotate freely and with more speed, resulting in a more powerful throw. Failing to lead with the scapula properly can lead to poor arm speed, accuracy, and even injury risk.
5) The Perfect Sequence: Mastering the Kinetic Chain
The kinematic sequence is not exact, and there are always variables between throwers. However, at the highest level these variables are relatively consistent in high level QB throwing when displayed on high-speed motion camera systems.
- Trunk and Pelvis Stack (Torso loaded behind Center of Mass COM)
- Rear Hip Accelerates
- Lead Leg Braces
- Lead Hip Decelerates & Clears to allow full pelvic rotation to target
- Lead Leg “Works Back” against the Rear Hip
- Throwing arm spirals to 30-60 degrees
- Torso Begins to Rotate
- Rear Hip Produces Terminal Velocity
- Torso Velocity Increases
- Lead Leg Fully Braced, Peak Knee Extension
- Arm Begins to Reach Maximal ER
- Torso Terminal Velocity Creates Maximal Layback
- Humerus Transitions from Maximal ER to IR
- Elbow Extends
- Forearm Pronates
- Wrist Maintains Flexion and Pronation
- PIP and DIP Flexion
If you're interested in QB specific throwing, lifting and sprint training, customized to you, with the same systems used to train NFL Quarterbacks, take the assessment and get the app at kinetex.co. If you're interested in reading about all things quarterbacking and throwing biomechanics, subscribe to the blog.
